Up, not North

3D-printing and lost wax casting: Question Block cufflinks and crowbar pendant

February 6th, 2012 § 8

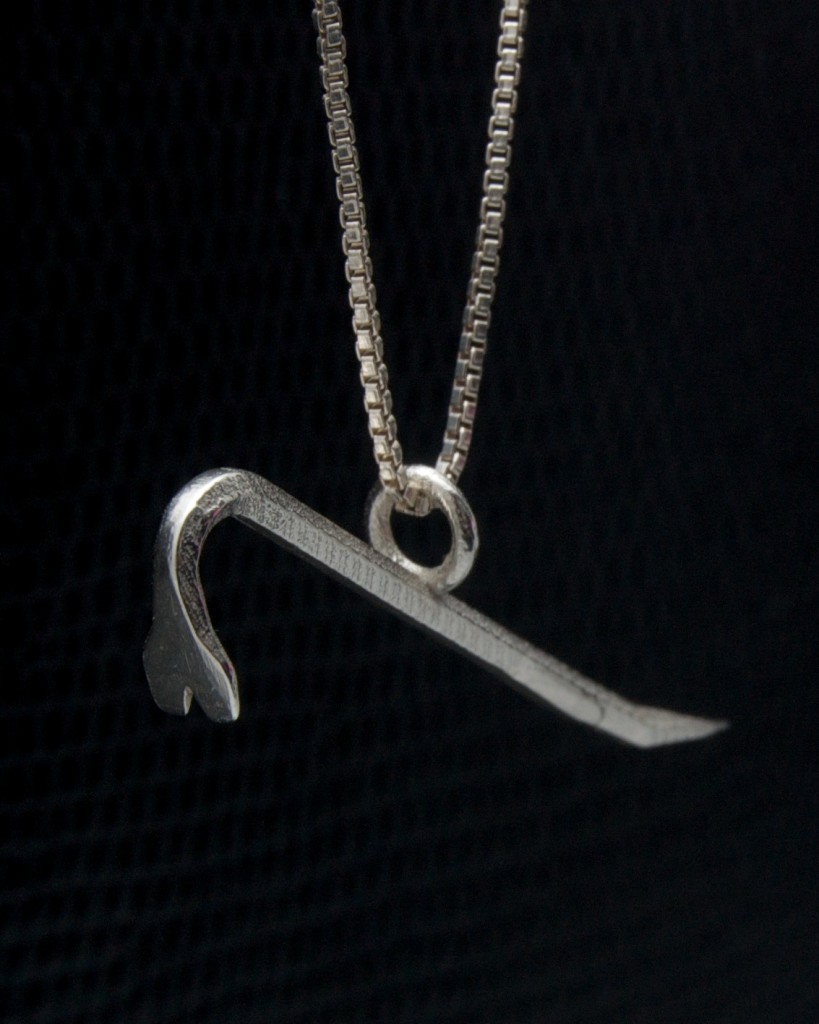
I’ve made another round of digital-to-silver jewellery: a pair of Super Mario Bros. cufflinks and a pendant for my crowbar-loving wife. For my last jewellery project I had Shapeways manufacture cufflinks directly in sterling silver, but for these pieces I did it a little differently: I had them 3D printed in plastic, used the plastic prints to make molds, had them cast in silver, and hand-finished them. I couldn’t have done the casting and finishing without the help of my friend Norah Kerr, who held my hand through the entire process.

Keep reading for the full breakdown of how I did it, more pictures, and source files for the 3D models. » Read the rest of this entry «

Nuit Blanche Chiptunes

October 2nd, 2011 § 0

Last night I had the pleasure of co-curating an all-night concert of Chiptunes music at the TIFF Bell Lightbox as part of Scotiabank Nuit Blanche. (Clearly, I’m not too great at this whole “promotion” thing: note that this happened last night.) Nonetheless, it was an amazing event, and I’m so happy to have had the opportunity to participate. Thanks to all our amazing artists, TIFF staff, and volunteers!

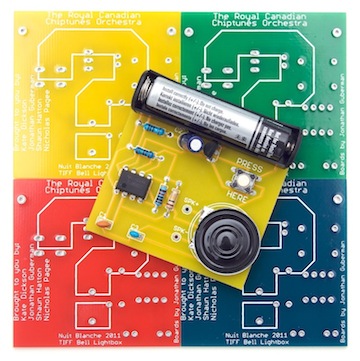
My main role was in designing, manufacturing, and building small noisemakers to give out to the crowd. There were four different colour-coded notes, and during one performance the audience was prompted with coloured cards to play along.I was surprised and delighted by how popular the boards were; we gave out all 150 of them in a matter of minutes, and people were asking for them long after they were all gone. It seems there’s an untapped thirst for simple noisemakers; that might be something I have to follow up on in the future…

The circuit is just a simple 555 astable oscillator, with different resistors on each colour to create a different note. They were assembled in two marathon soldering sessions at Site 3, where I was joined by several student volunteers from Ryerson’s New Media. My eternal gratitude goes out to them! You can take a little peek behind-the-scenes in this video:

YouTube Preview Image

Quick and dirty Arduino kiwi drive robot (controlled by Wii nunchuck!)

July 10th, 2011 § 4

Months ago, for a larger project that is currently languishing in my “when I have time” pile, I built a very simple Kiwi-drive robot. Since it likely won’t be “finished” for a long while (and has been sitting in my trunk for weeks), I figured I ought to at least document it.

Very briefly, kiwi drive is a “holonomic” method of moving a robot, which basically means it can move in any direction without having to turn first. It accomplishes this using three omniwheels mounted at the points of an equilateral triangle. With some vector math, you can find rotational speeds for each wheen such that the robot will move in whatever direction you like. I won’t go into the theory too much here, but here are some diagrams and here’s some math (via).

In the video I’m controlling the robot with a Wii Nunchuck. That’s because my 14-year-old cousin was hanging out at the shop when I built it; he saw the controller in my parts bucket and said “you HAVE to connect the nunchuck to the robot!” So I did. I used Tod E. Kurt’s breakout board and example code.

The robot is dead simple. It essentially consists of three different parts — a microcontroller, omniwheels, and servos — and it took about five minutes to put together. Keep reading to learn how it works and download the code. » Read the rest of this entry «

3D printed CCTV surveillance camera cufflinks

June 17th, 2011 § 0

I’ve been meaning to try 3D printing for a while, but when I heard that Shapeways had started offering sterling silver as a material printing option I finally decided to do something about it: I made myself a pair of cufflinks. (More photos are available on Flickr.)

I wasn’t really planning on posting about them (at least not yet), but since they’re getting some coverage under my Shapeways username, I figured I ought to at least mention it. You can buy a pair here. The pictures show them printed in unpolished sterling silver. Stainless steel is much cheaper, but I’m not sure how much detail will be retained in the print.

I’m really happy with how they turned out and I already have a bunch more 3D printed projects in the works (some of which involve the video game references that I know you love), so stay tuned!

Interactive talking Portal Turret Plushie

April 24th, 2011 § 4

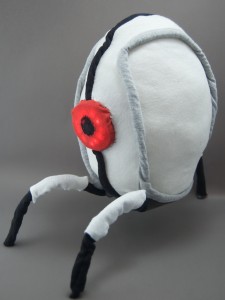
I’ve wanted my own Portal Turret since I first played the game. Now, in collaboration with Leigh Nunan, I’ve made one. And it works:

Leigh made the plushie and I made the electronics.

For more information, including source code, visit the project page.

Check out my hot rod!

March 21st, 2011 § 0

After literally months of bugging her, I finally wrangled my Site 3 co-director, the inimitable Alex Leitch, into giving my soldering iron a custom paint job. I swear, I didn’t even notice the delightful “hot rod” wordplay opportunities until she was halfway through.
I did the Nigel Tufnel-inspired dial modification myself (you might need to enlarge the image to see). Yes, I’m aware that this amuses me much more than it should.

A Clockwork Pac-Man: introducing Pac Machina and the Pactuator

February 9th, 2011 § 0

Playing with old typewriters for the Automatypewriter left me enamoured of their amazing mechanical viscera. It inspired me to leave my comfort zone of digital bits and try playing with physical bits for a while. It’s been loads of fun, and I highly recommend it! Why restrict yourself to electrons, when you could be playing with the whole atom?
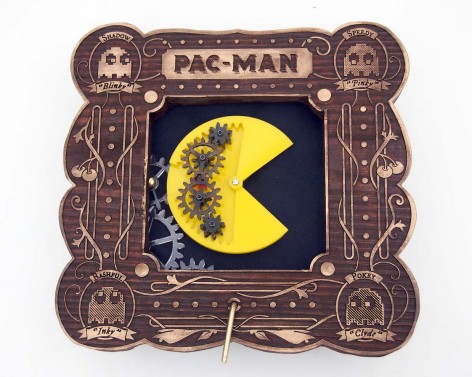
The experience has inspired me make to my next major project that much more ambitious: I’m working on a playable, mechanical Pac-Man cabinet, which I’m calling “Pac Machina.” My dream, if I can pull it off, is to auction the finished product to raise money for Child’s Play. I was initially planning on waiting to reveal it until it was done, but I’ve decided it’s much more fun to share. Consequently, I’m going to blog my work-in-progress. If you’re interested, be sure to check back for updates (or, better yet, subscribe to my RSS feed).
Obviously, Pac Machina will require a chomping Pac Man figure, hence this mechanism. I call it The Pactuator. It was only meant to be a prototype, but I liked it so much that I wanted a nice way to display and play with it on its own (perhaps to keep me motivated during the inevitably-long build process for the full game). So, I whipped up a little case for it, and here it is! For a brief description of how it works, along with a detailed description of the prototyping process, please read the project page!
(Incidentally, when I was working on the Automatypewriter, people started giving me their old typewriters, which was kind of cool. If people now want to give me Pac-Man merchandise, that would be awesome!)